A good bridge isn’t noticed, but without it, no one crosses.
- Tool Parameters -
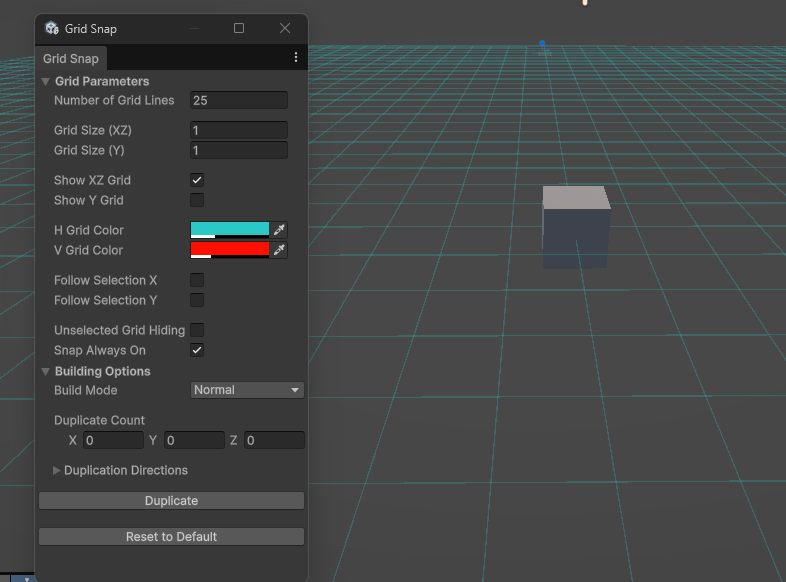
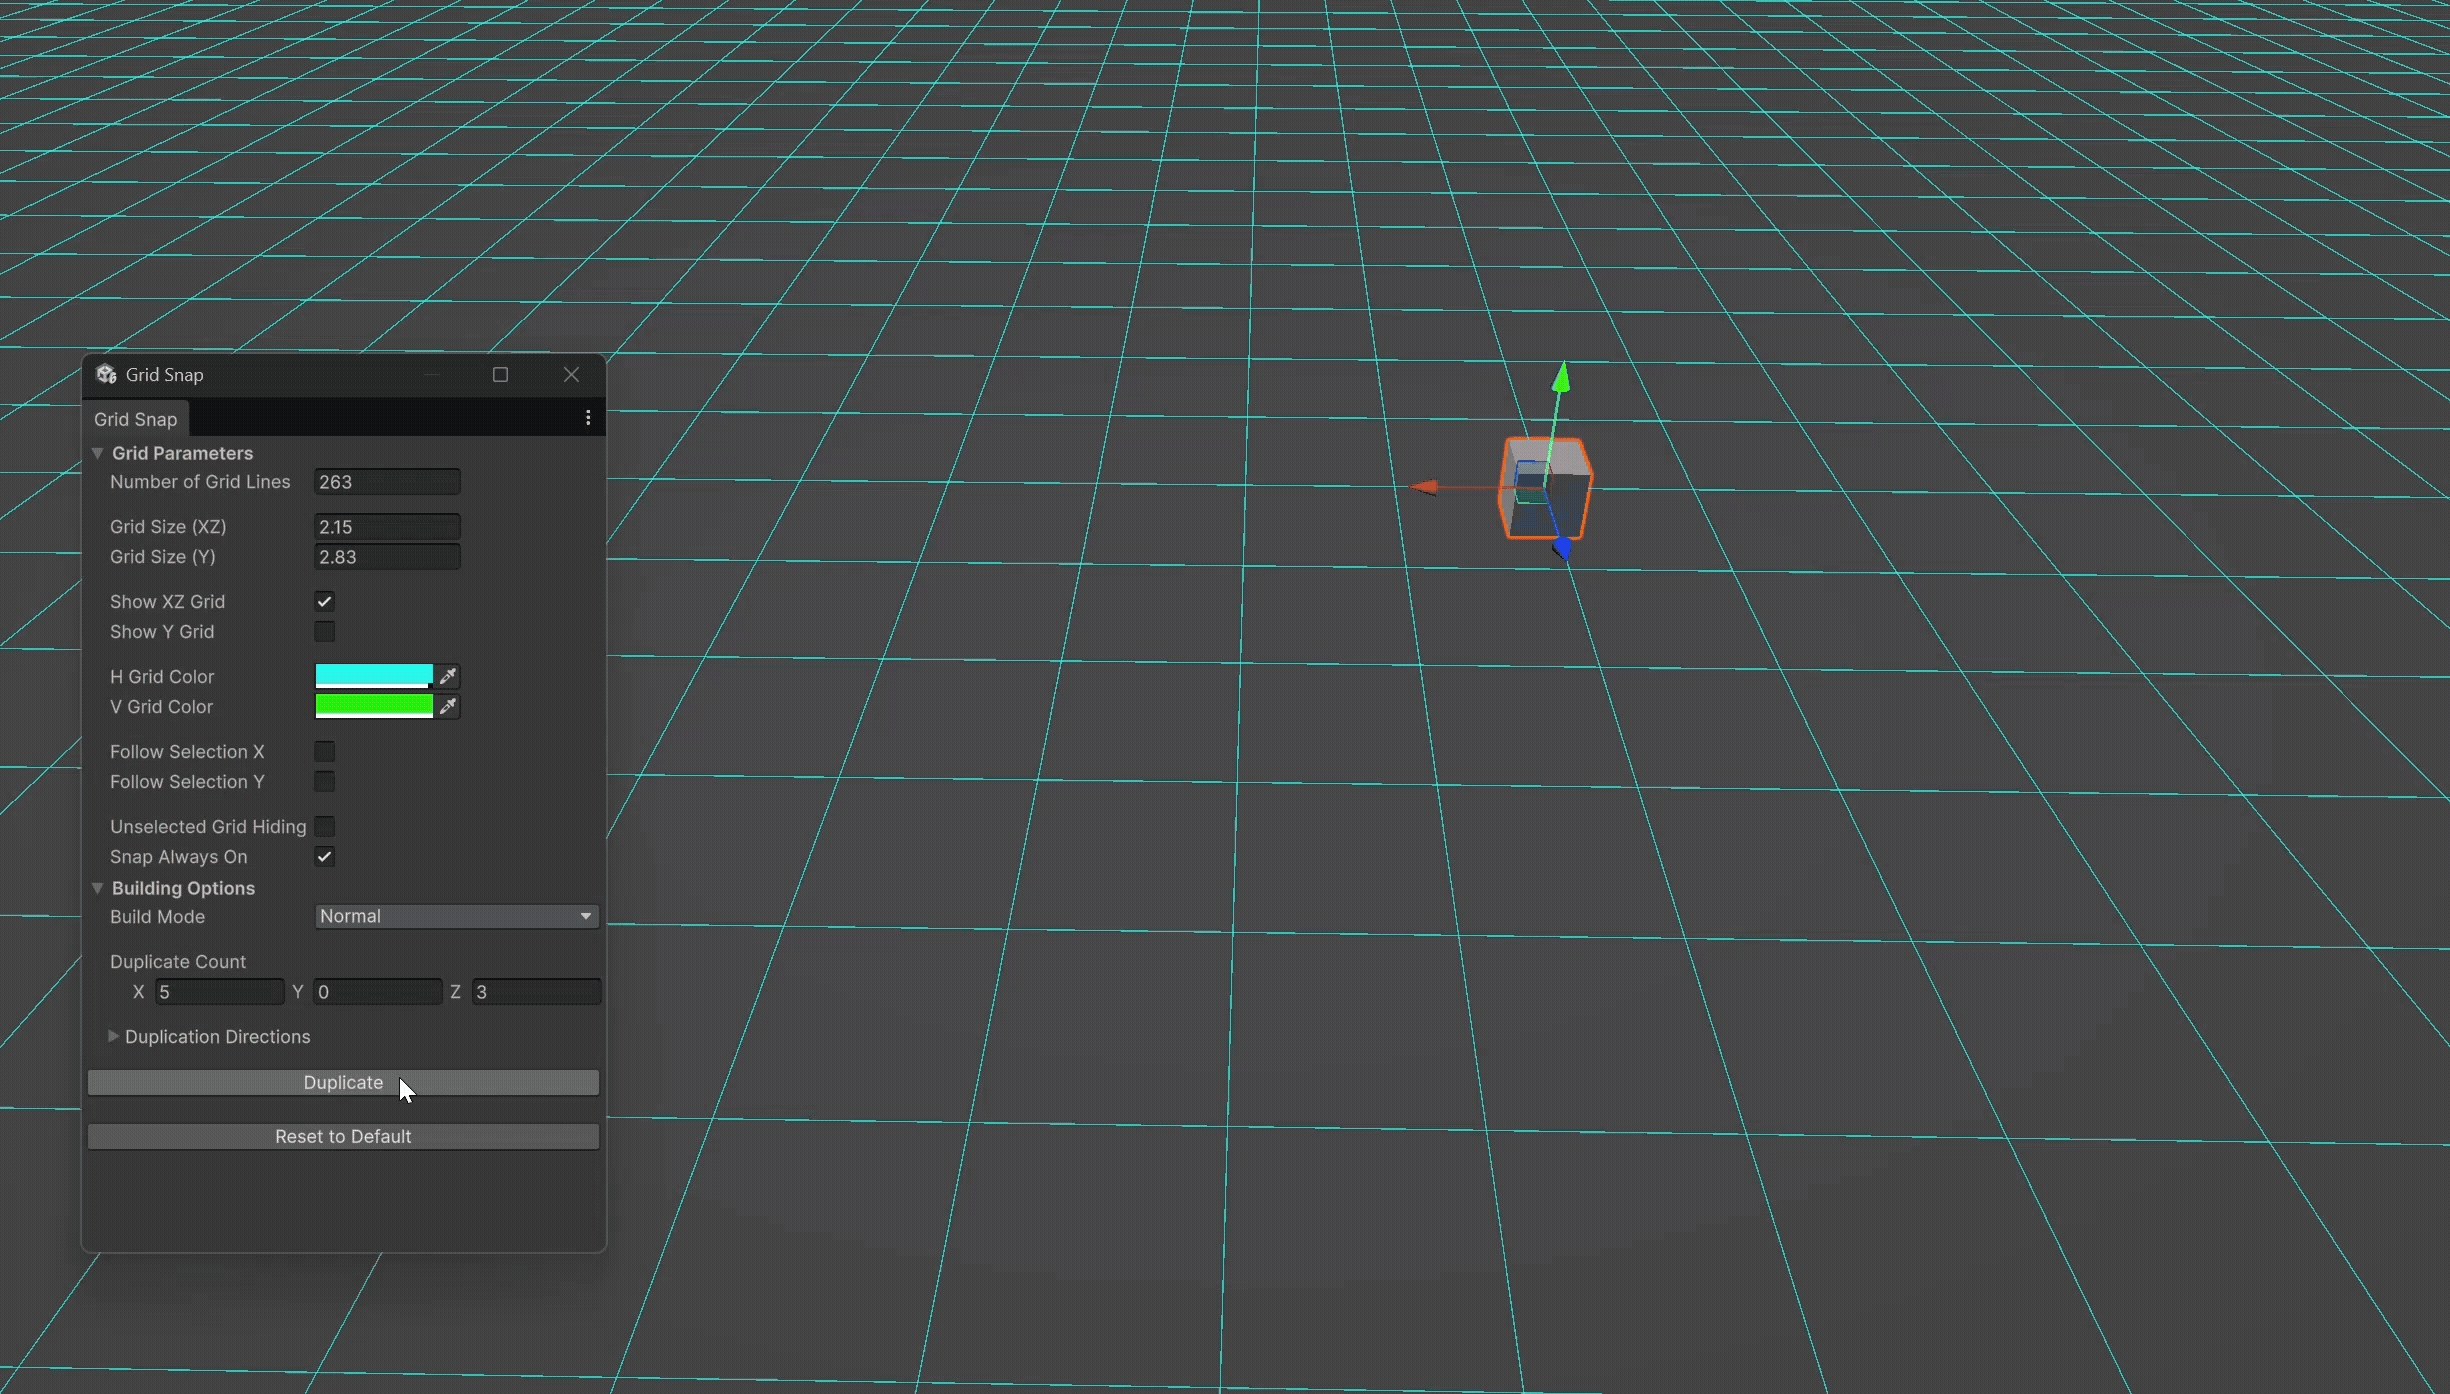
This tool was made to build maps with modular assets faster, I made it for the Escape Game I am currently working on with my team. The tool has multiple parameters like the number of line being drawn for the grid, the size between each line on the XZ axis and the Y axis and more.
All the different option were carefully picked and discussed with my team to match their need and make it as clear as possible for them. I wanted to craft this tool and leave it to my team after so I could work more on the gameplay side of the project
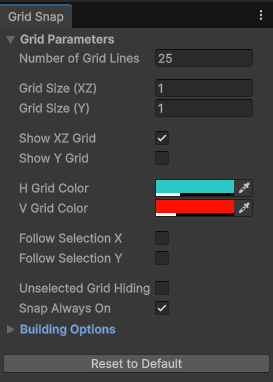
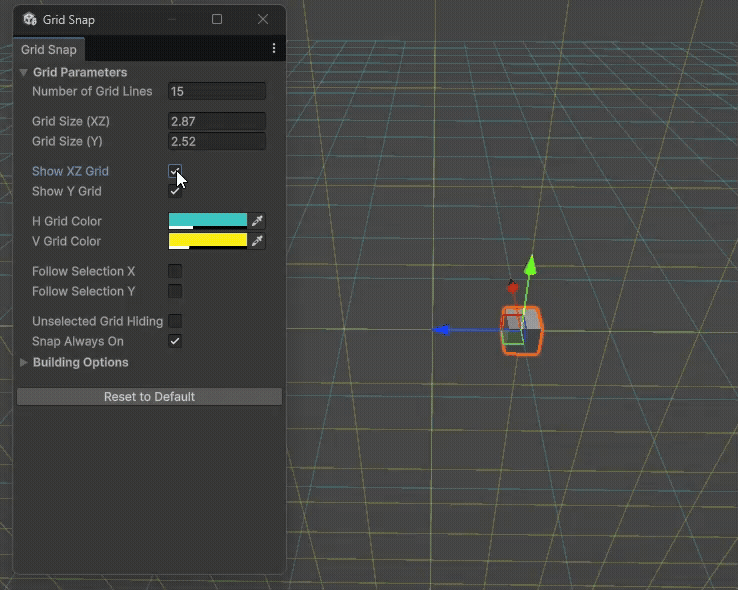
The First section of the tool was the parameter of the grid, This is where all the basic parameter that you usually set once are.
Those parameters are:
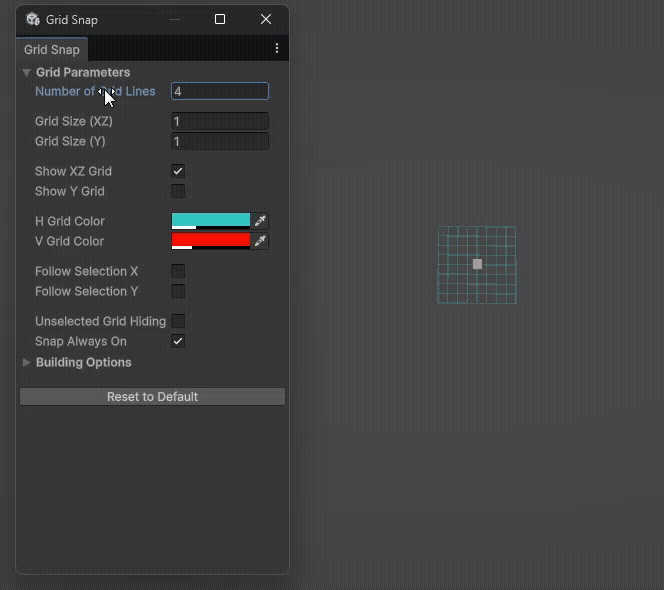
-The Grid Number of Lines
Let you decide the overall grid size you want
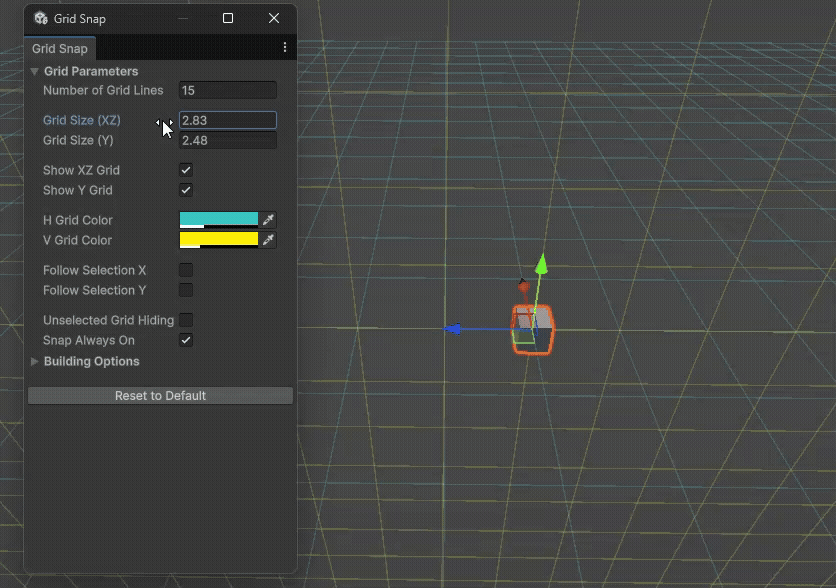
-The Squares Size
The overall square size is used by setting it with the same size as your modular kit, this help with the snapping into good position.
I separated the X and Y so we can control the height independently
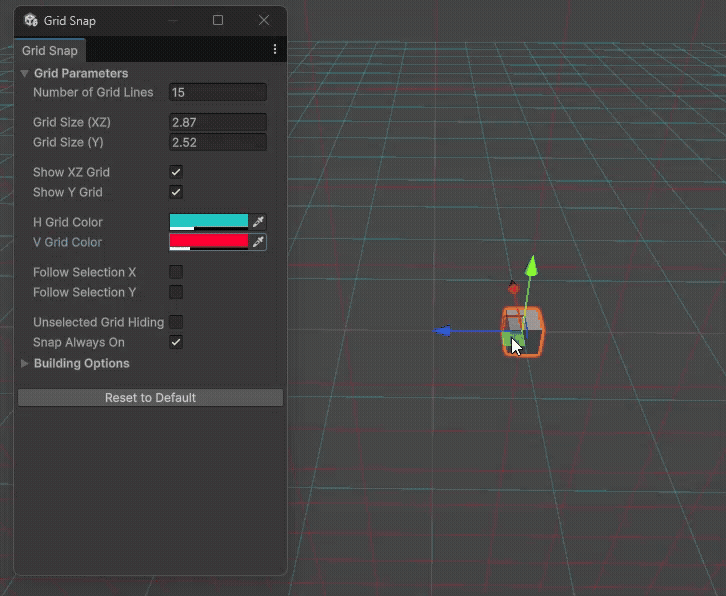
-Show Each Grid
Showing each grid was mostly used so we can separate the building phases, if we want to do only a floor or a roof, the Y grid is never in use so, for clarity you can deactivate it

-Set Grid Colors
This was made mostly because each member of a team could like a certain color, and since I have 2 grid overlapping a certain moments having 2 distinct colors is useful for clarity. Also I didn’t want to set 2 color I choose because colorblind persons could be affected by this choice.
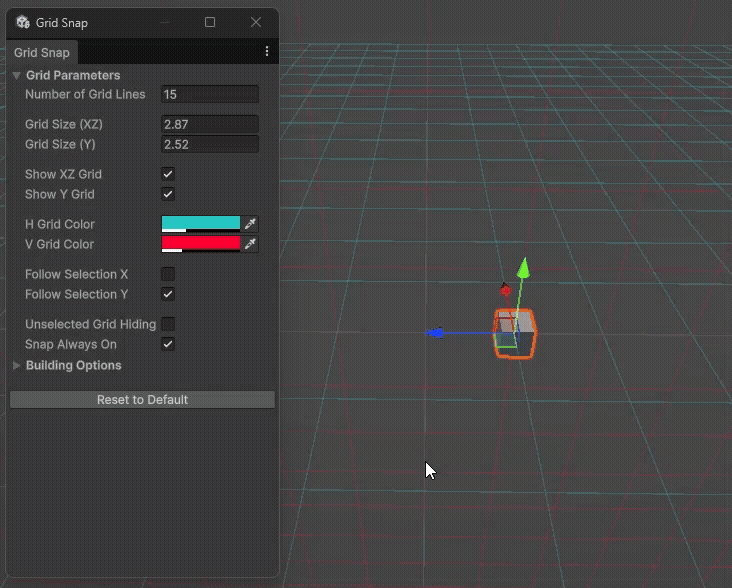
-Follow Selection
When I started testing the tool I realized that if the map get bigger with height than at a certain point we wouldn't see the grid anymore and with a level of precision like a modular kit, we need to see the grid up close at all time. Making the grid being centered on my object position solved this problem wherever we are on the map
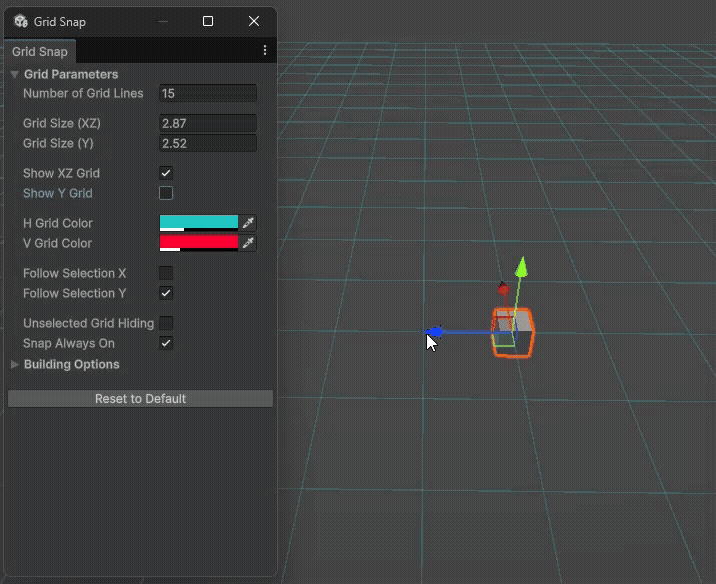
- Grid Hiding
Some people like having a clear view of the project to see the global idea without the noise of the grid blocking this so I choose to add the option to always shoe the XZ grid of just when something is selected.
The Y grid will always disappear when nothing is selected. This is for the clarity of it
- Snap Activation
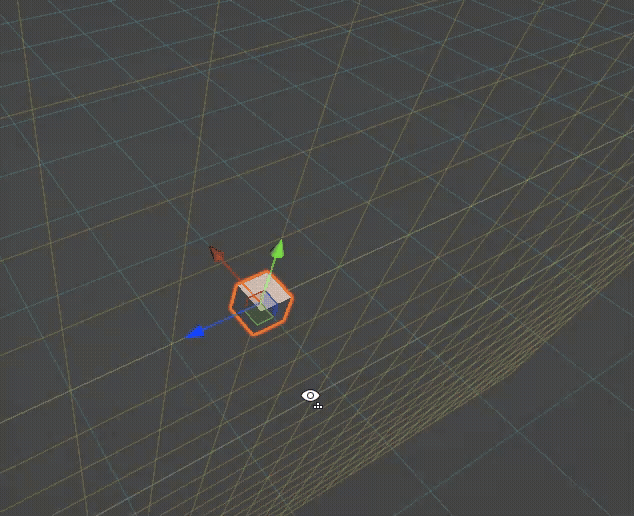
Snapping the selected objects to a grid was the base idea of the tool, the one that started all. with the size being set you can than always snap so the intersection and make everything line up
The main hidden feature that exist inside the tool is the y gris aligning with your view.
- Additional Hidden Feature
I did not allow the toggle on/off of this feature because some angle would distort your view and snapping it to your base view block this. Additionally, after talking with the team, we would not have any use of it if we could disactivated it so keep the tool clearer was a better option
-Build Mode -
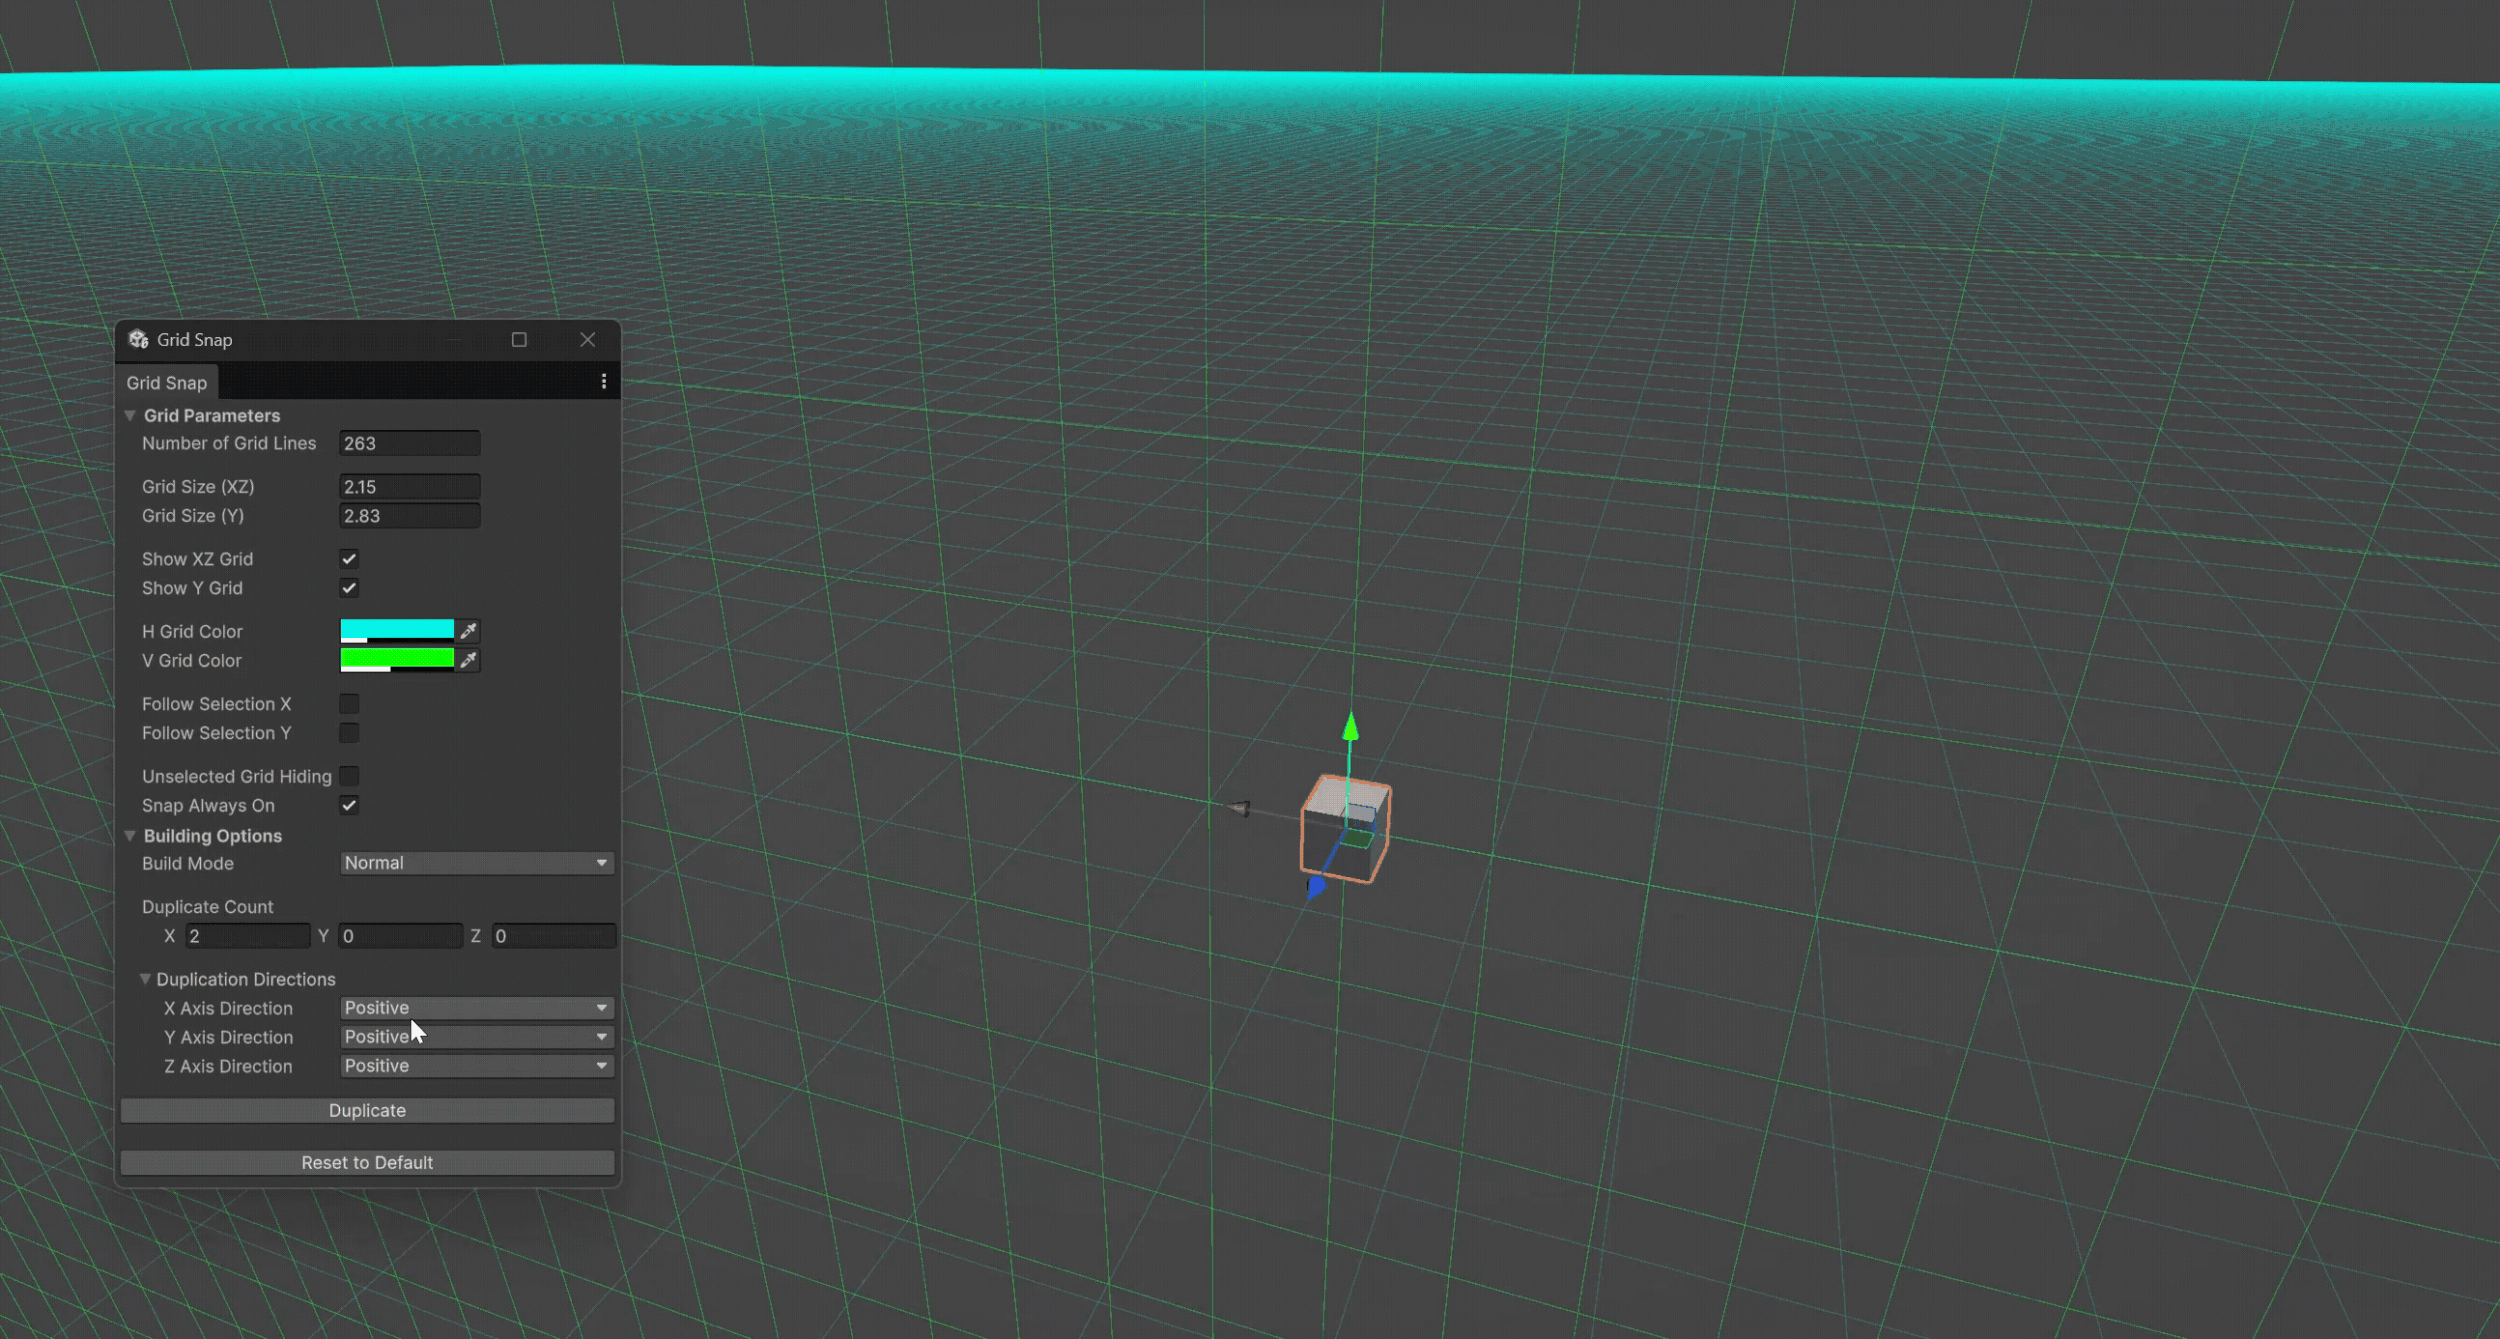
- Duplication
The build mode was made to make building with a modular asset kit much easier. Once you define the grid size, you can simply select an asset, choose how many you want to duplicate on each axis, and click on Duplicate to make them spawn automatically.
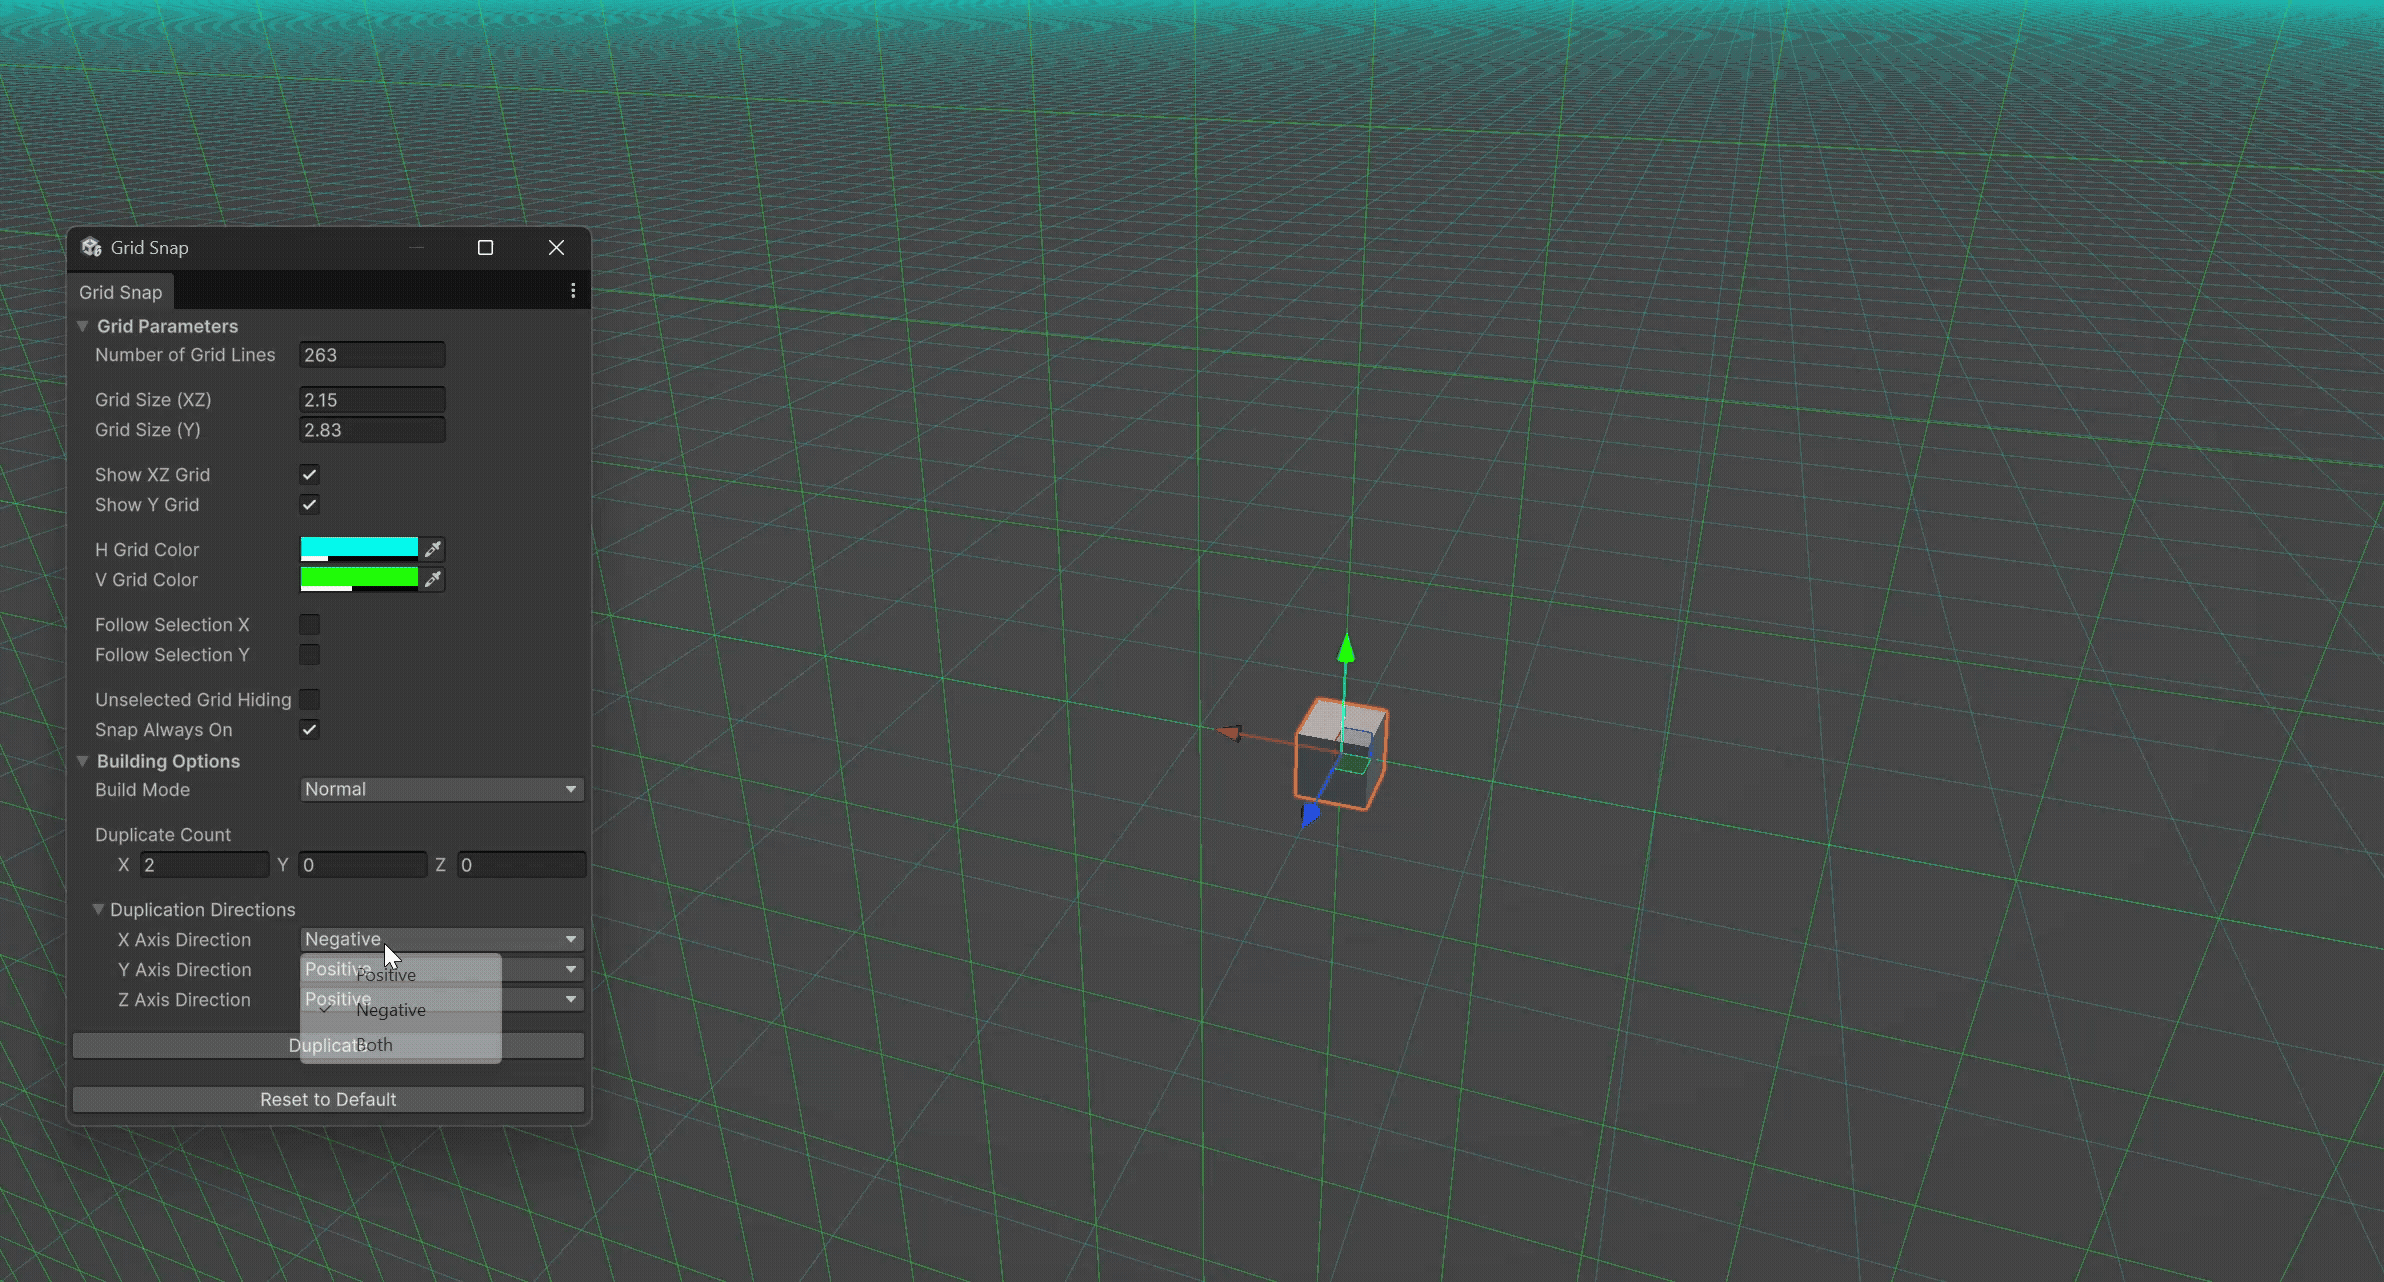
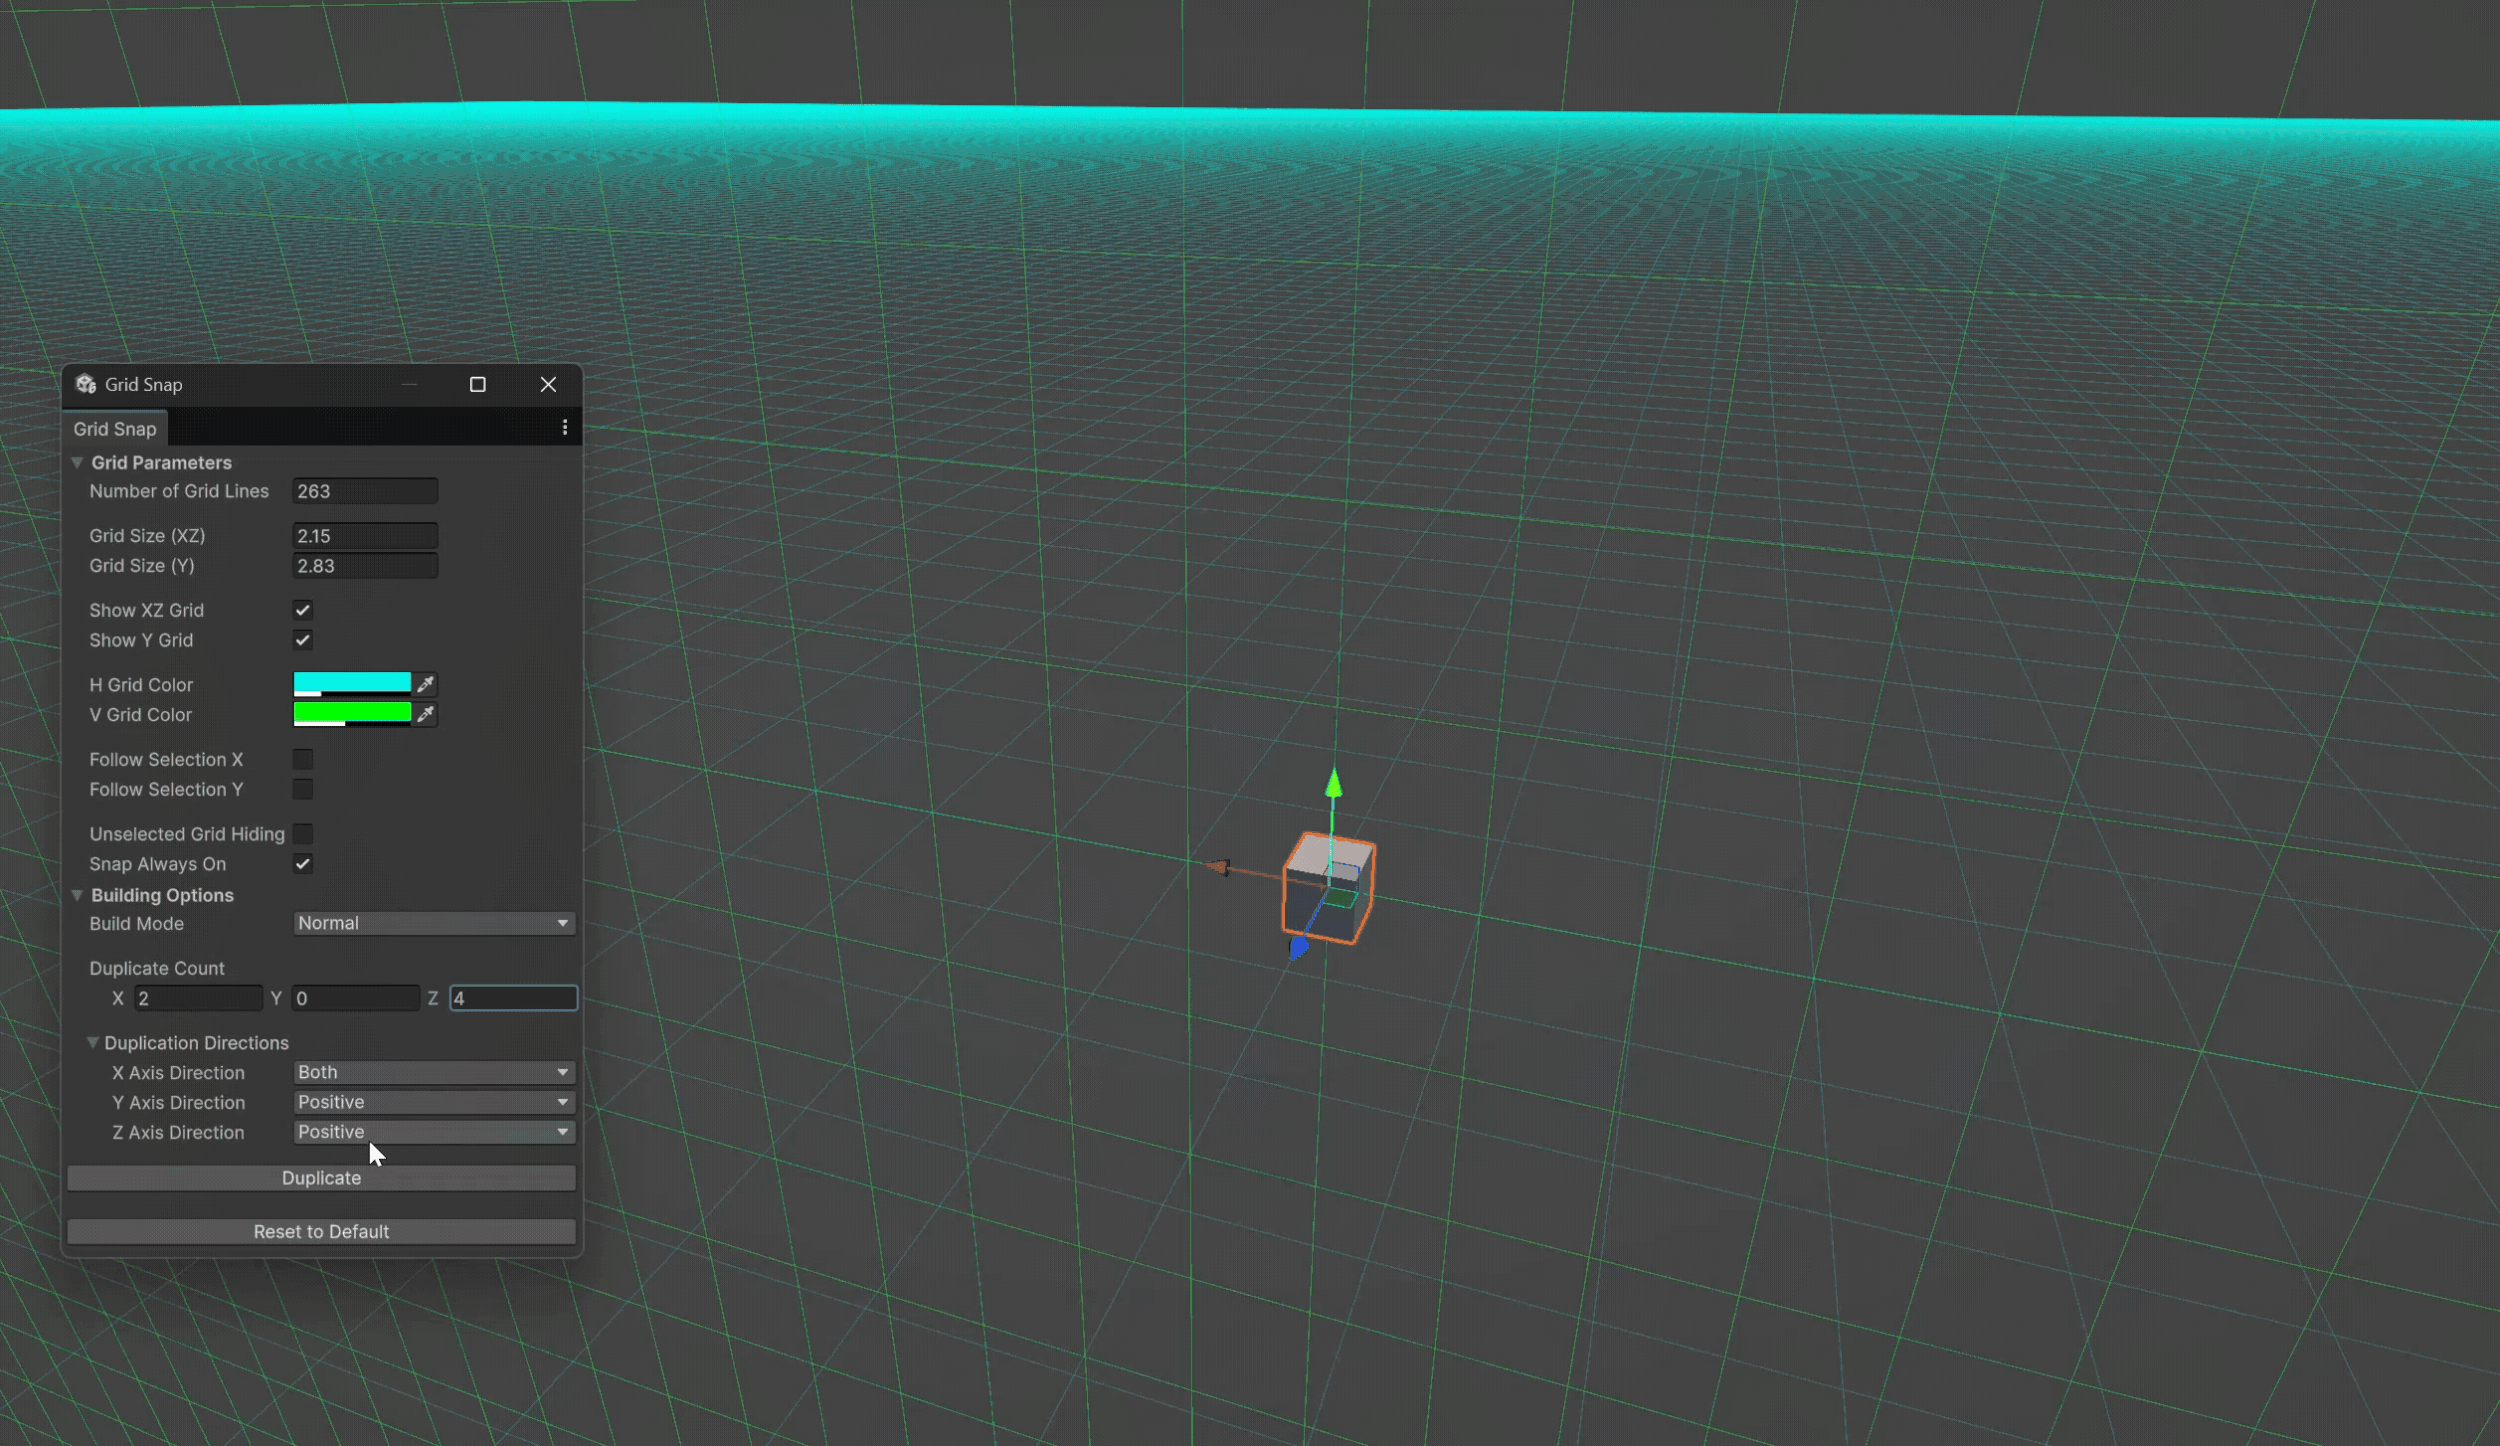
- Both Duplication Axis
Once I made the base building system, I wanted to be able to control each axis direction independently. So, I added three different modes for each axis: positive, negative, and both directions. With these options, the team could build from any angle they wanted without any trouble.
- Negative Duplication Axis
- Multiple Duplication Direction

- Y Axis Duplication
To give the team more control, I made the objects duplicated on the Y axis follow the grid metric independently. This made it easier to adapt their placement and helped me position props in the scene with much more precision.